Kenya appears on most adventure-traveler’s bucket lists, with dreams of spotting zebras in the Maasai Mara or biking with giraffes in Hell’s Gate. My two weeks spent in this East African country were certainly filled with adventure, but also plenty of afrobeats, nyama choma, and some valuable lessons learned along the way.
Luckily for you, I’ve compiled some of my most important Kenya travel advice here so you can approach your trip to Kenya with a hakuna matata attitude. From what to pack for a safari to how to get around the country, here are my best tips for visiting Kenya so you can spend less time counting shillings and more time spotting wildlife in the savannah.
This site uses affiliate links to share products that I use and love! If you click on one of the links I may receive a small commission at no additional cost to you. This helps keep my site up and running — thank you!
Kenya Quick Links
✈️ Flights – Use Kiwi.com or WayAway to find the cheapest and fastest flights to Kenya
🛏️ Accommodation – Find the best places to stay throughout Kenya on Booking.com and Hostelworld.com
✅ Get Insured – I personally use Safety Wing Nomad Insurance for my travels all around the world! VisitorsCoverage is another great option.
🚗 Rent a Car – Find the best deals for a Kenyan road trip on RentalCars.com
🗺️ Find Things to Do – Check out Get Your Guide, Viator, and Tripadvisor for exciting adventures all around Kenya
☎ Buy a Sim – Airalo offers eSIMS for over 200 countries and regions

1. You’ll Need a Local SIM
I used to be adamantly ant-SIM on my travels. Now, I see it not only as a safety expense, but a money-saving measure. This could not be more true than when visiting Kenya.
Kenya is quickly becoming one of the most digitized nations in the world. In fact, a 2022 report showed that 96% of Kenyan households use M-Pesa, an East African money transfer service. In many instances in Kenya, M-Pesa is the only payment method accepted. And M-Pesa can only be used with a Kenyan SIM card.
Another benefit of having a Kenyan SIM is the ability to use taxi services like Bolt and Uber. In my experience, prices on Bolt were significantly cheaper than trying to haggle with taxi drivers, and the safety that accompanied being able to call a ride whenever I was, whenever I needed, was priceless.
Where to Purchase a Kenyan SIM Card
I purchased an Airtel SIM Card at the Jomo Kenyatta Airport in Nairobi, but there are kiosks for all the major mobile service providers including Safaricom and Telcom. 12GB of data with Airtel cost 1500 KSH ($12 USD) for 30 days but there are varied pricing plans ranging from 5GB to 100GB.
2. Download the M-Pesa App
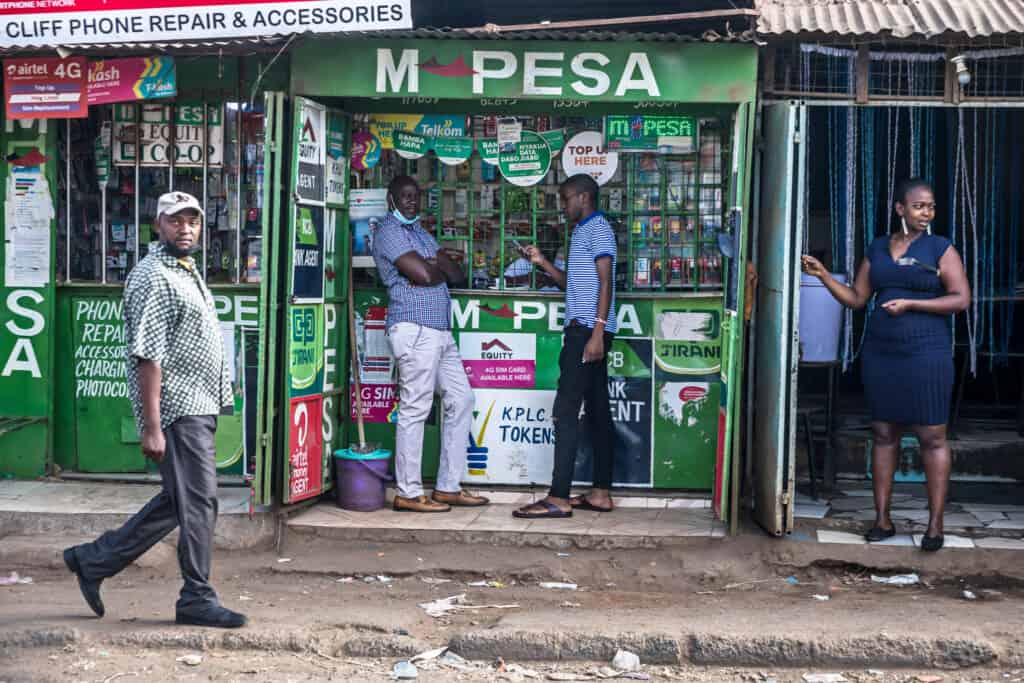
If you haven’t heard of M-Pesa before, it won’t take long to get acquainted once you arrive in Kenya! This mobile money-transfer service has taken Kenya by storm – in 2022, over 43% of the entire country’s GDP flowed through the app!
If you plan to spend a significant amount of time in Kenya, setting up an M-Pesa account is essential. Use of the mobile app has significantly cut down on petty theft and robbery, so many businesses use it as their primary form of payment. It’s worth downloading the app even if you’re only traveling to Kenya for tourism purposes.
How to Set Up an M-Pesa Account
If you have a local SIM, setting up an M-Pesa account is quick. I highly recommend doing this at the same branch where you purchase your SIM card, where an accredited agent can help you get started. You will need your passport on hand and a PIN code you remember. For more information about M-Pesa, check out this article.
3. Uber Works but Bolt is King
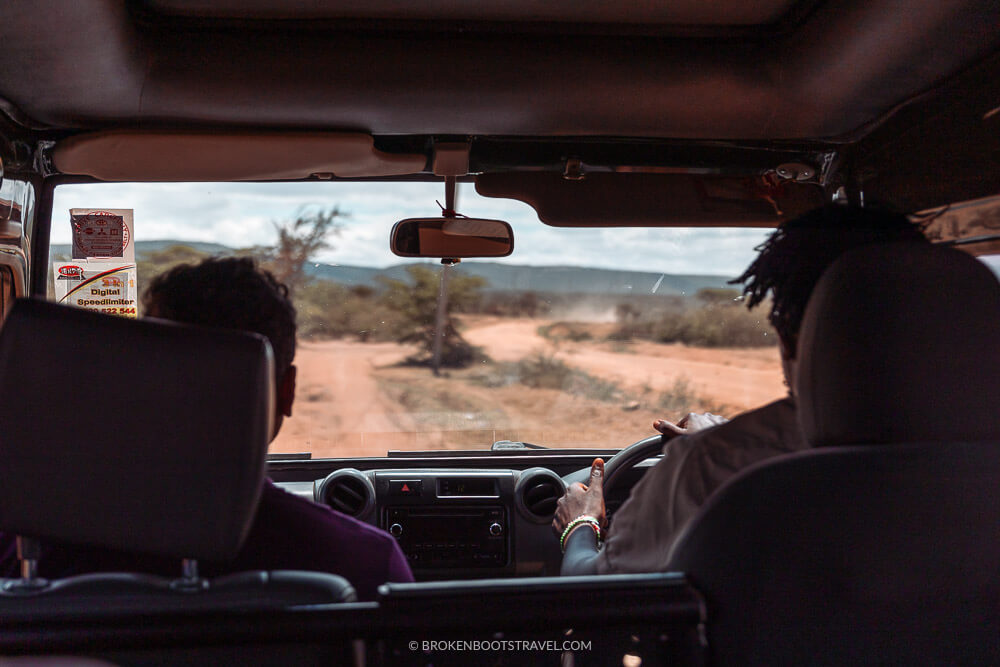
Here’s a lesson I quickly learned while visiting Kenya – if you’re just any average-Joe tourist, you likely won’t be able to snag a fair deal on a taxi anywhere around Kenyan cities. Most taxi drivers can spot a mzungu (foreigner) from miles away and will often charge you triple what the ride should cost.
By far the most efficient way to get around Kenya’s major cities is by using rideshare apps. Uber is available in Nairobi but Bolt is king, with more affordable prices to match. It generally costs around 150 KSH ($1.25 USD) to get around Nairobi and 700 KSH ($5.50 USD) to go to further places like the giraffe center.
Quick Tip: If you’ve purchased a local SIM, make sure to update your Bolt account with your local number so drivers can call you directly.
Recommended Reading: 24 Hours in Nairobi – How to Spend One Day in Kenya’s Capital City
4. But Don’t Write Off Public Transportation
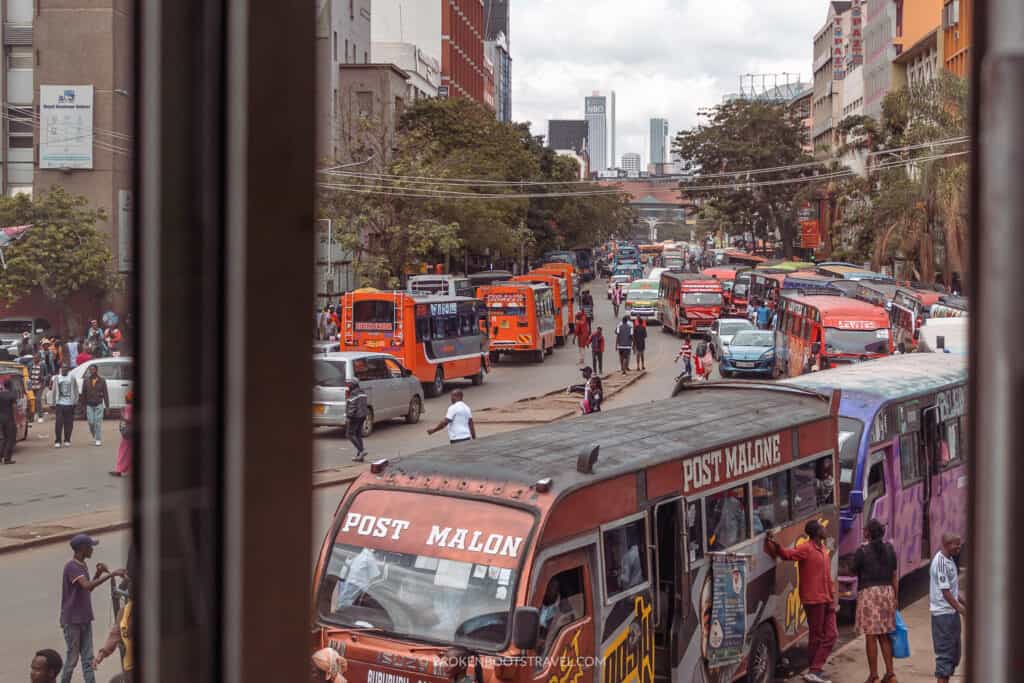
While it may be tempting to call an Uber everywhere, Kenya actually has an extensive network of public transportation options. I highly encourage you to take public transportation at least once – be it a colorful matatu or a speedy boda boda.
Not only is public transportation less expensive than private taxis, but you’ll get a look into how the locals get around. Riding in the back of a bumpy matatu while Willy Paul blasts from the speakers is an experience in and of itself. And with average prices of 300-500 KSH ($25.0-$4.00 USD) between cities, the prices can’t be beat.
Here is a quick breakdown of the types of public transportation you’ll find in Kenya:
- Boda Bodas: Motorcycle taxis, often the cheapest option for getting around cities.
- Matatus: Colorful, public mini buses for transport around cities and suburbs, very popular with locals.
- Public buses: Official city buses are operated by the Kenya Bus Service (KBS). Private buses like Tahmeed Express Bus and Simba Coach offer longer distance trips.
- Trains: Kenya Railways oversees all the trains in the country and is the fastest option for long-distance travel. The most popular route is Nairobi to Mombasa.
Safety on Public Transport in Kenya
While I encourage travelers to embrace local transport, it is important to understand that the driving conditions in Kenya can be different from what you might be used to. City driving can be dangerous due to large crowds and many roads outside the city are in need of repair. Please keep this in mind when visiting Kenya and make informed decisions based on what you feel comfortable with.

5. “Hakuna Matata” is a Real Thing
It means no worries, for the rest of your days! Yes – the Swahili expression is actually commonly used throughout Kenya, and isn’t just a product of Lion King Fame. The expression, which directly translates to “no trouble,” is a daily reminder to live life joyfully, and you’ll hear it shared throughout the streets of Nairobi.
While both English and Swahili are both commonly spoken in Kenya, learning a few Swahili words can go a long way. Not only is it a sign of respect for the local culture, but having a few words can get you out of some sticky situations. Practice saying “hapana, asante – no, thank you,” for when you’re inevitably swarmed by hoards of vendors.
Here are a few more useful Swahili phrases to know:
- Hello: Jambo/Hujambo/Salama
- How are you?: Habari Gani
- Yes/No: Ndiyo/Hapana
- Thank you: Asante
6. It’s NyAMA Choma, not NyOMA Choma
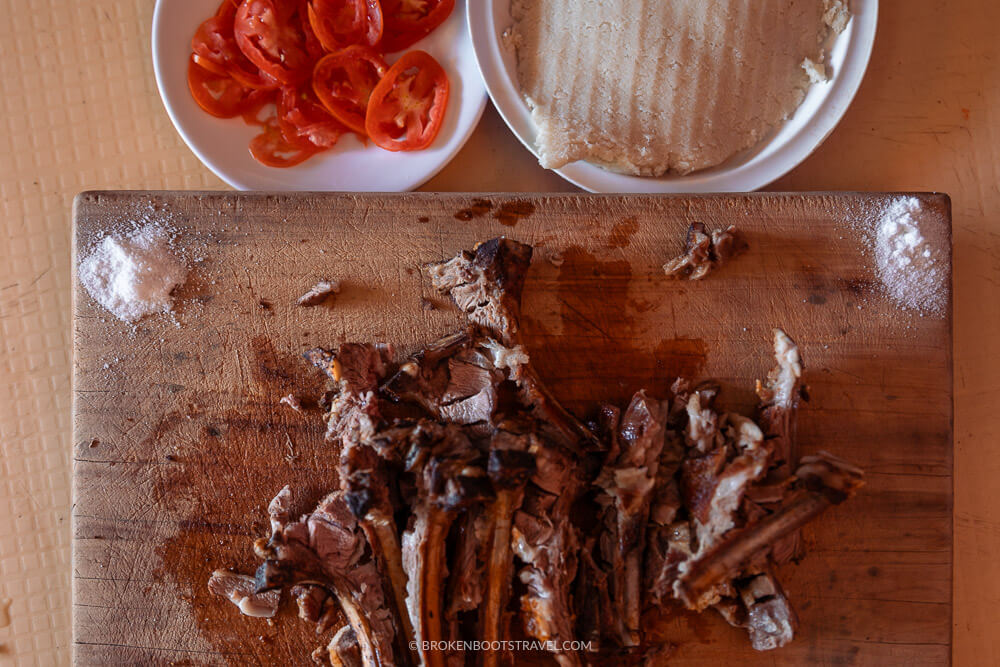
You can’t skip this Kenyan national dish – meat barbecued to perfection and served with a side of cornmeal ugali. But if you eat it, you’ve got to pronounce it!
Many Swahili words begin with a nearly silent “N,” so think of pronouncing the dish as “yama choma.” And make sure you say “yAma” – say “yOma” and prepare to get roasted by every Kenyan in earshot!
Quick Tip: It isn’t hard to find Nyama Choma in Kenya – the dish is everywhere! But the best nyama choma will usually be located next to a butchery, it doesn’t get fresher than that!
7. Don’t Be Afraid to Haggle
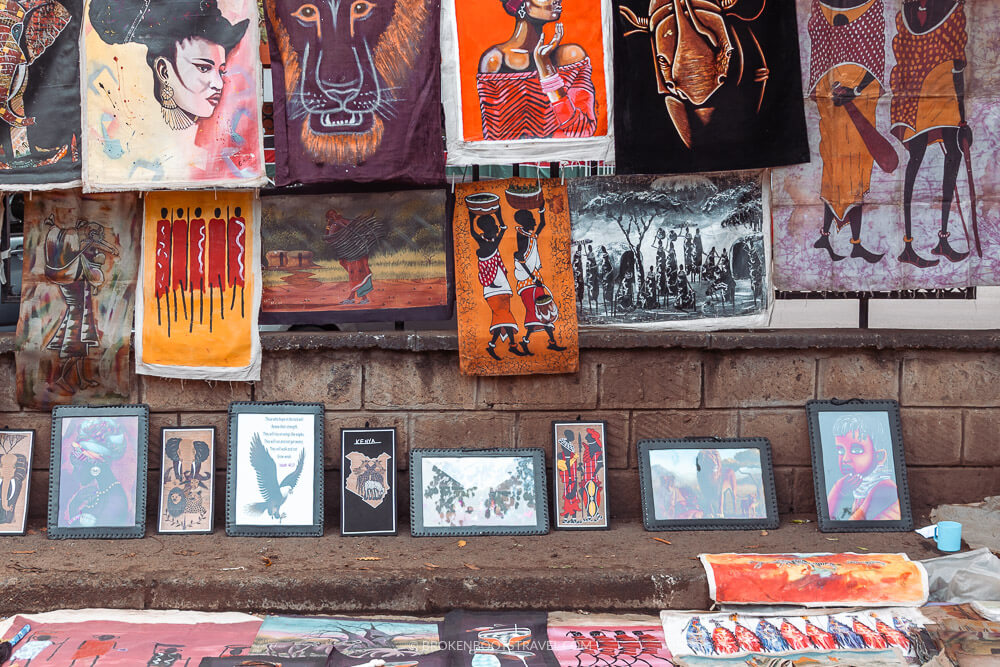
Haggling is embraced in Kenya, so come prepared for some serious bargaining. While there are certain spaces where haggling isn’t accepted (restaurants, malls, and hotels) local markets are the perfect place to put your bartering skills to the test. I recommend trying your hand at the Maasai Market – my favorite market in Kenya!
However, be aware that many vendors expect tourists to overspend because they don’t understand the environment. I found many vendors were upcharging tourists about 50-75% of what an item would usually sell for, so don’t be afraid to counter a first offer with around 50% less. As always, remember that this is the vendor’s main source of income, so be respectful in your interactions, but don’t be afraid to walk away if a vendor is overly insistent.
8. But Understand the Tourist Tax
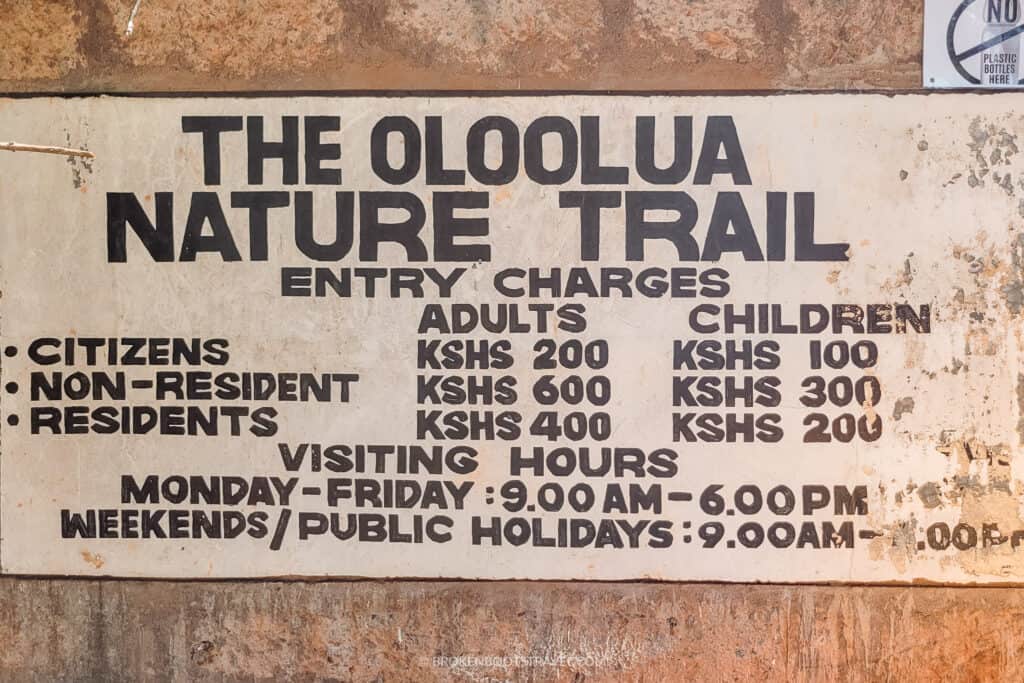
Many places in Kenya have three entry prices – citizens, residents, and non-residents (tourists). Tourists can often expect to pay 50-70% more for activities such as national parks, museums, and even hikes.
For example, when I hiked Mount Longonot on my trip to Kenya, my Kenyan friend Kevo paid 300 KSH ($2.50 USD) whereas I paid 2500 ($20 USD) for the same hike. It can certainly be frustrating to have to pay higher prices, but remember that “tourist taxes” are a small price to pay for the privilege to explore a new country. In the case of Kenya, most of the money made from tourism goes to conservation efforts in natural areas, so at least you can rest assured your money is supporting a worthwhile cause!
Don’t let the tourist tax discourage you from visiting Kenya, but do set your expectations (and budget!) accordingly! When planning your trip to Kenya, make sure you are looking at the non-resident price when budgeting.
9. Comfort is Key in the Maasai Mara
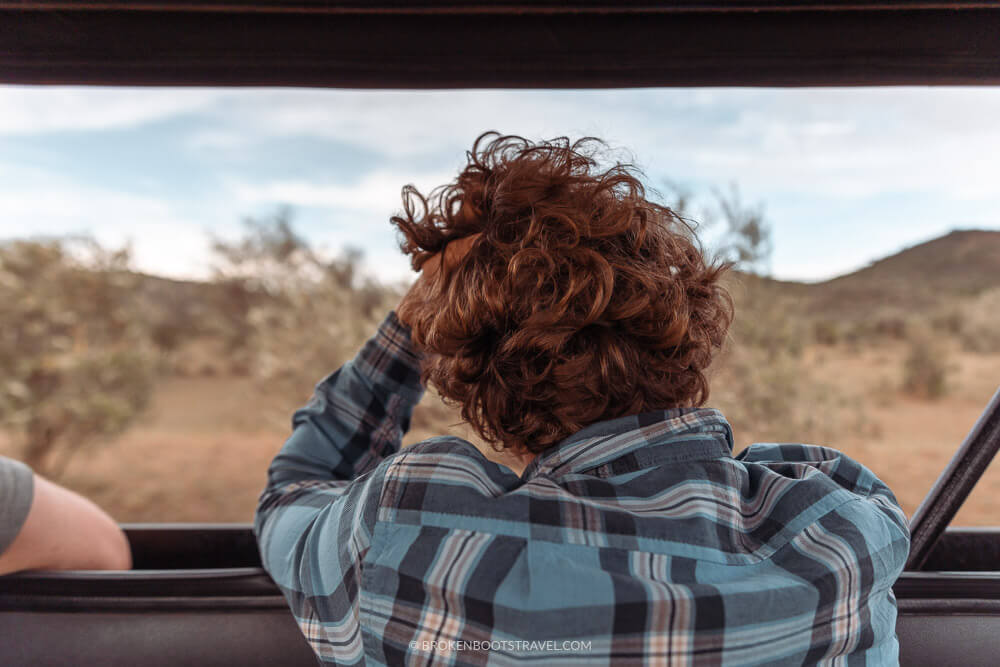
Forget high fashion – if spotting elephants in Kenya’s Maasai Mara is on your to-do list (as it should be!) comfort is the most important factor to consider. You’ll likely be spending multiple hours a day in the back of a car, so the last thing you want is an uncomfortable outfit!
My Maasai Mara uniform consisted of comfortable pants, cotton t-shirts, and a waterproof outer layer for the chilly nights and often-unpredictable rain. I kept a hat on hand for extra warmth, and a few warmer layers back at the camp for chilly nights. Closed-toed shoes are a must – flip flops are the last shoes you want if you stumble upon Kenya’s most dangerous predator!
One of my biggest Kenya clothing tips is to wear light colors – darker colors attract mosquitoes, so aim for colors like white, khaki, and hunter green to keep the pests away! Keeping your arms and legs covered while out and about can also act as a mosquito net, so consider lightweight layers for outdoor exploration.
10. Don’t Forget Your Antimalarials
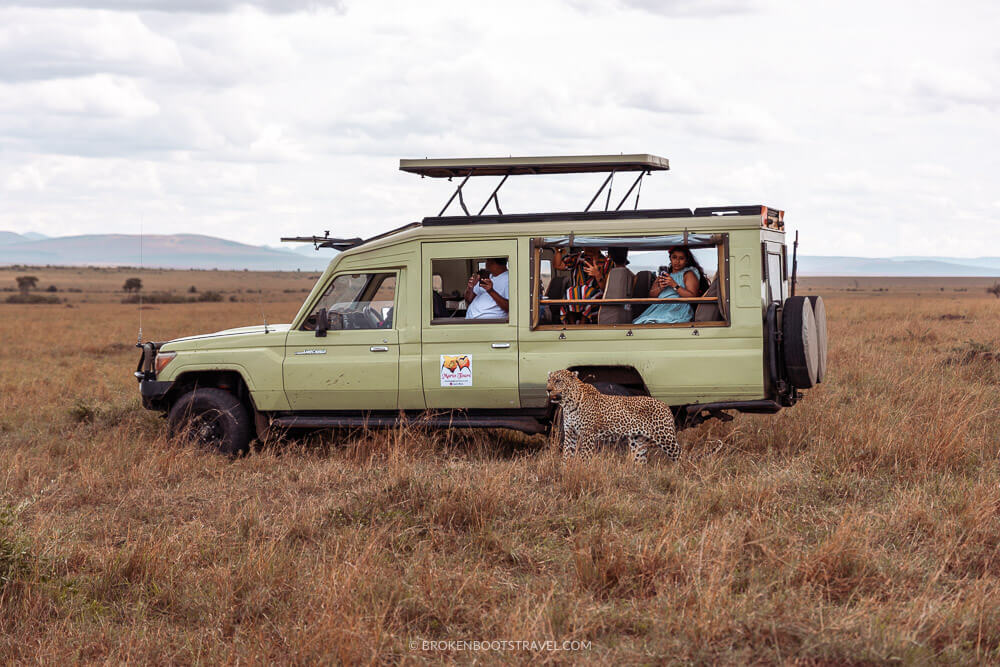
Unfortunately, malaria is prevalent in Kenya’s Maasai Mara, so picking up a pack of Malarone is essential before you head off on a safari.
If you’re also from a country where antimalarials cost an arm and a leg (thanks USA!) here’s my biggest travel tip – wait to purchase your antimalarials in Nairobi. For comparison: 12 Malarone pills costs around $100 USD (~$8 per pill) in the USA, but I purchased an equivalent pack at a pharmacy in Nairobi for $30 USD (~$2.50 per pill)
Nairobi has little to no risk of malaria because of its cooler temperatures, so it’s safe to spend time in the city without antimalarials. Simply give yourself 24 hours in Nairobi to let the pills take effect before heading out to a malaria-risk area.
Quick Tip: Even in malaria-free areas, I recommend wearing long sleeves and applying bug spray with at least 30% DEET to keep away pesky mosquitoes.
Where to Find Antimalarials in Nairobi
Not all pharmacies in Nairobi carry antimalarials. I recommend checking pharmacies in the Nairobi city center first as they will be the most likely to carry them. We found our antimalarials at Pharmaplus Pharmacy CBD. Only ever buy antimalarial pills from an accredited pharmacy.
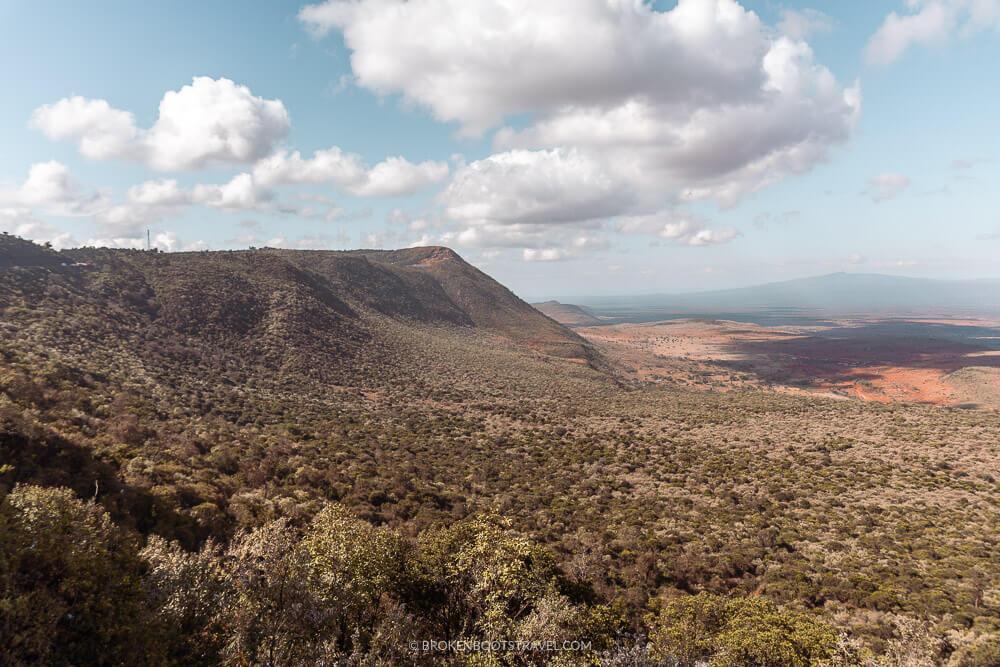
11. Check Your Vaccinations Before Visiting
One of the most expensive travel mistakes you can make is arriving in a place and realizing you don’t have the proper shots to enter. Take it from someone who learned this lesson the hard way: Getting sick abroad will end up costing a whole lot more than just getting that shot beforehand.
If you’re planning on visiting Kenya, make sure you are up-to-date on your vaccinations in order to enter. These include Diphtheria, Hepatitis A, Polio, and Tetanus.
While Kenya does not currently require a yellow fever vaccination for American tourists, visitors from 41 countries require the vaccine to visit. Even if your country isn’t on the list, I still highly recommend getting the vax before traveling to Kenya – the surrounding countries of Tanzania, Uganda, and Ethiopia all require proof of vaccination, so the shot is essential if you plan to travel overland.
Can You Get a Yellow Fever Vaccine in Kenya?
If you do arrive in Kenya unvaccinated and decide to continue your trip onward to a vax-required country, you can get your yellow fever vaccination at any Port Health Authority at a number of Kenyan Airports. Vaccinations cost 3500 KSH ($28). It’s recommended to get the vax at least 10 days before traveling to a place with yellow fever risk.
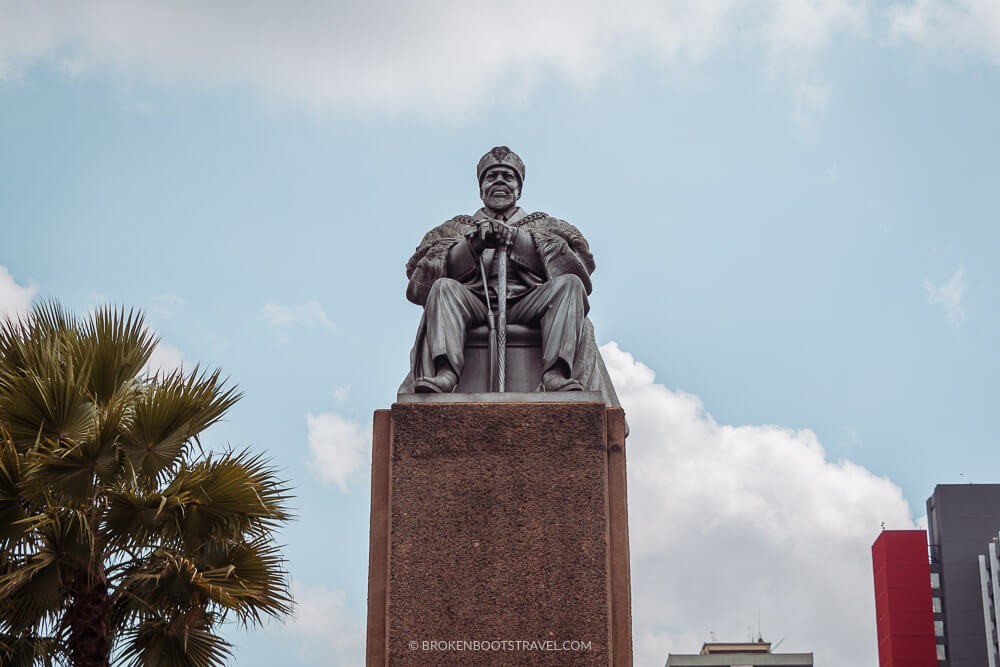
12. Apply for Your Visa at Least a Month in Advance
As of 2023, 145 countries need a visa to visit Kenya, so yours is likely on the list.
Luckily, applying for a Kenya E-visa can be completed through their online portal. While the application can be done online it is quite extensive, so give yourself adequate time to complete the paperwork necessary. To apply for a Kenyan E-visa you will need:
- Accommodation address while in Kenya (you can use your hotel/hostal address)
- Passport Photo (with clear white background)
- Full passport scan (color copy)
- Local phone number in Kenya (you can use your hotel/hostal phone number)
- Family and contact information
- $50 application fee
Note that the application can often take up to 2-weeks to process, so I recommend applying a minimum of 30 days before your scheduled trip in case there are any complications.

13. Bring Your Camera but Exercise Caution
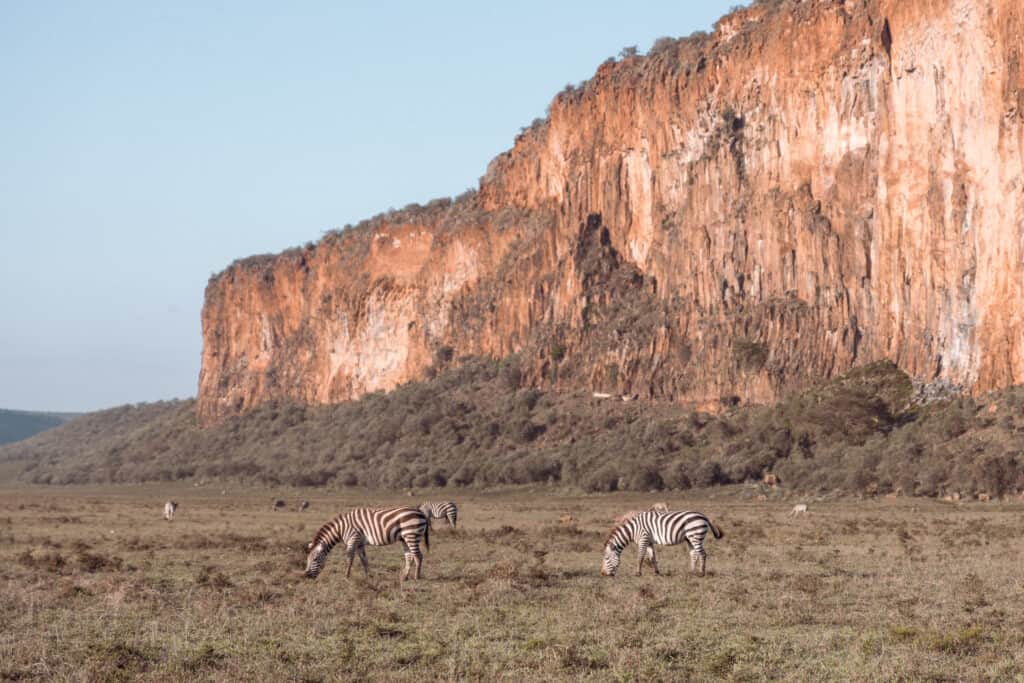
Whether you’re a hobbyist photographer or a full-blown professional, you’ll need your camera if you’re traveling to Kenya. From lions lazing on rocks in the Maasai Mara to hoards of zebras grazing below cliffs in Hell’s Gate, the photo opportunities are endless.
For taking photos on safaris, I highly recommend a camera with a long zoom lens. I’d recommend starting with a zoom of at least 200mm. This Canon 18-200mm f/3.5-5.6 lens is a great start for hobbyist photographers, or consider investing in a full-frame lens like the Canon 70-200 f/4 or even sharper Canon 70-200 f/2.8 lens.
However, note that in Kenya, photography is not allowed of government buildings or military officials. Breaking this law could land you with a fine of up to $100 USD, or even a night in jail. Unfortunately, there are people who will take advantage of this law – read this story from Pete at Bucketlistly about his experience getting robbed in Kenya after taking a photo.
I recommend acting on a side of caution when photographing in many cities in Kenya. This includes where you take your camera – while I encourage you to photograph all you can in the Maasai Mara, potentially consider an alternative to an expensive DSLR when wandering around Nairobi.
Recommended Reading: What Does it Mean to be an Ethical Photographer?
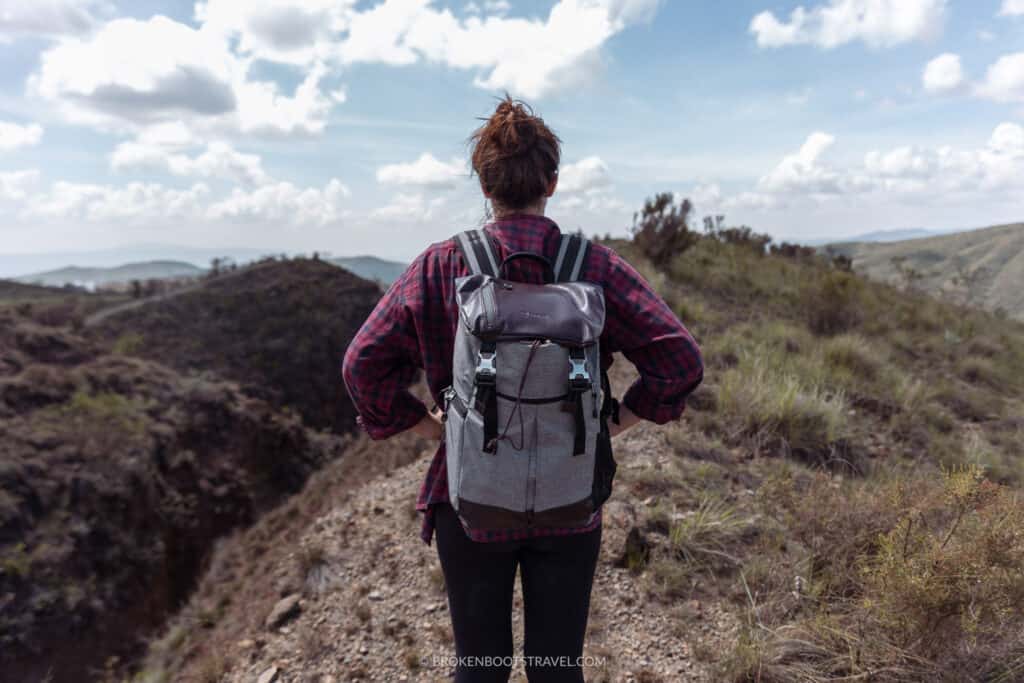
14. Be selective about what you carry
Unfortunately, some of the larger cities in Kenya, especially its capital city of Nairobi, have an unfortunate reputation with petty crime. Please don’t let this deter you from visiting – but do pack accordingly in preparation.
When out and about in many major Kenyan cities, I recommend carrying only the essentials – phone, wallet, passport, and keys. You are legally required to carry your passport with you in Kenya – failure to present your passport when asked could result in a fine. I recommend keeping a colored copy of your passport at your hostel/hotel along with additional cash and cards in case of theft.
I carried a cross-body bag while exploring Nairobi, which I carried on my front in crowded areas. If you’re looking for extra protection, I recommend investing in a slash-proof anti-theft bag.

15. Ditch the Single-Use Plastic
Single-use plastic is banned in Kenya. This means you won’t be able to take plastic water bottles into many protected areas and will need to carry a reusable water bottle with you. Thus leads to my biggest travel hack of all time: purchase a filtered water bottle.
This filtered water bottle from Water-To-Go has been my savior from the high Andes of Peru to the wadis of the UAE and most recently in Kenya. The water in Kenya is not safe to drink, so having access to clean water is crucial. This water bottle means you can have access to clean drinking water anywhere, any time.
A filtered water bottle is a bit of an investment up front but will save you hundreds over time. Gone are the days of stocking up on plastic bottles, simultaneously saving you room in your backpack and saving the environment. Other water-filtering options include LifeStraw or a PureWell Water Pump.
My Biggest Tip for Traveling in Kenya
Above all else, remember to relax, enjoy, and have fun on your trip to Kenya. Indulge in some nyama choma, hike a volcano crater, and embrace the kindness and joy of the Kenyan people.
These tips can help you make informed decisions to guide your trip, but remember that sometimes the best adventures are unplanned. I hope you find new adventures throughout your trip to Kenya!
Want to keep exploring Kenya? Check out my full Kenya itinerary, or continue exploring with one of the guided tours below!
What to Pack for Kenya
Planning a trip to Kenya? Consider adding some of these items to your suitcase for a truly epic trip!
💧 Filtered Water Bottle – Tap water isn’t safe, so keep yourself safe with a filtered bottle!
🐞 DEET Insect Repellant – Keep yourself safe from the Kenyan mosquitos!
🎒 Anti-theft Backpack – Perfect for exploring crowded areas where pickpocketing is common
🧖♀️ Microfiber Travel Towel – A go-to travel essential anywhere in the world!
🔌 Portable Charger – Keep your phone charged out on the go
🔐 Mini Padlock – Perfect for securing your backpack or locking up your items at the hotel
🔋 Universal Travel Adapter – Charge all your devices anywhere in the world!


Love stories? Subscribe to my newsletter to get my latest updates delivered straight to your inbox every month. One email a month + no spam? Sign me up!
Virginia Taylor (Ginna) is a travel writer and photographer exploring the world until her boots wear through. She’s currently on a mission to explore all 32 departments of Colombia, though she formerly called the Middle East home. Want to know more? Visit the About Page.
Pingback: How to Hike Mount Longonot: The Ultimate Guide